24

I'm having issues with ripples on the first layer of big flat prints. The initial corner of a big flat print is fine, but then ripples begin to form as shown in the screenshot.

I'm just a newbie, so I was thinking they might have something to do with heat or contraction or something. Normally, I use the default and print with no turbofan on the first layer. When I tried adding fan 20% or 50%, nothing much changed (slight differences in the ripple pattern and area, but that pattern varies anyway).

I also wonder if one strip gets bent, then maybe the rest just follow the bends. As far as I know, my heating plate is working fine, has no serious hot spots, and I'm using a high-quality PLA+ filament. I also tried adjusting the print temperature from 205-220 (the range on the box is 205-230). Nothing seemed to help. I am running a default first layer thickness of 0.3 mm because that is supposed to help adhesion (and adhesion is fine).

The ripples look worse than they feel. They feel fairly flat, only slightly rippled, even though they look terrible! (And I don't know what that weird row with blobs is in the top left of the picture. That only happened once; almost like junk was in the nozzle or the feed gears slipped or something).

I'm running a Qidi Xpro machine, Sunlu PLA+ (wonderful) filaments, bed 50 C, print temp 205-215, print speed 30-40 mm/s on the first layer, and first layer thickness 0.3 mm (normal layer thickness is 0.2 mm). This machine has a direct drive with gears immediately above the nozzle.

Does anyone know why this rippling effect occurs, and what I might to do to correct it? Thanks

UPDATE: I'm adding this info here to respond to several comments concerning bed leveling, etc. (Thank you to those who made comments!)

1) I'm sure that the bed is as level as I can make it because I always go through the cycle twice).

2) Regarding clearance, if anything I worry that my clearance is too small since there is a fair amount of drag on my leveling card under the nozzle. So, there is definitely drag on all three level points, about midrange between the lightest drag and the heaviest drag that makes me think I'm filing off part of the nozzle.

3) I do have two nozzles, so I suppose the problem could show up on one but not the other if the nozzles were screwed into the block to give different heights. But the ripple shows up on both nozzles, always in the middle of the build plate, always in the middle of a big flat print. Corners don't usually show ripple effects. I don't want to believe that my build plate dips in the middle on my new machine, either ... :-) Adhesion is fine on small prints in the middle of the plate.

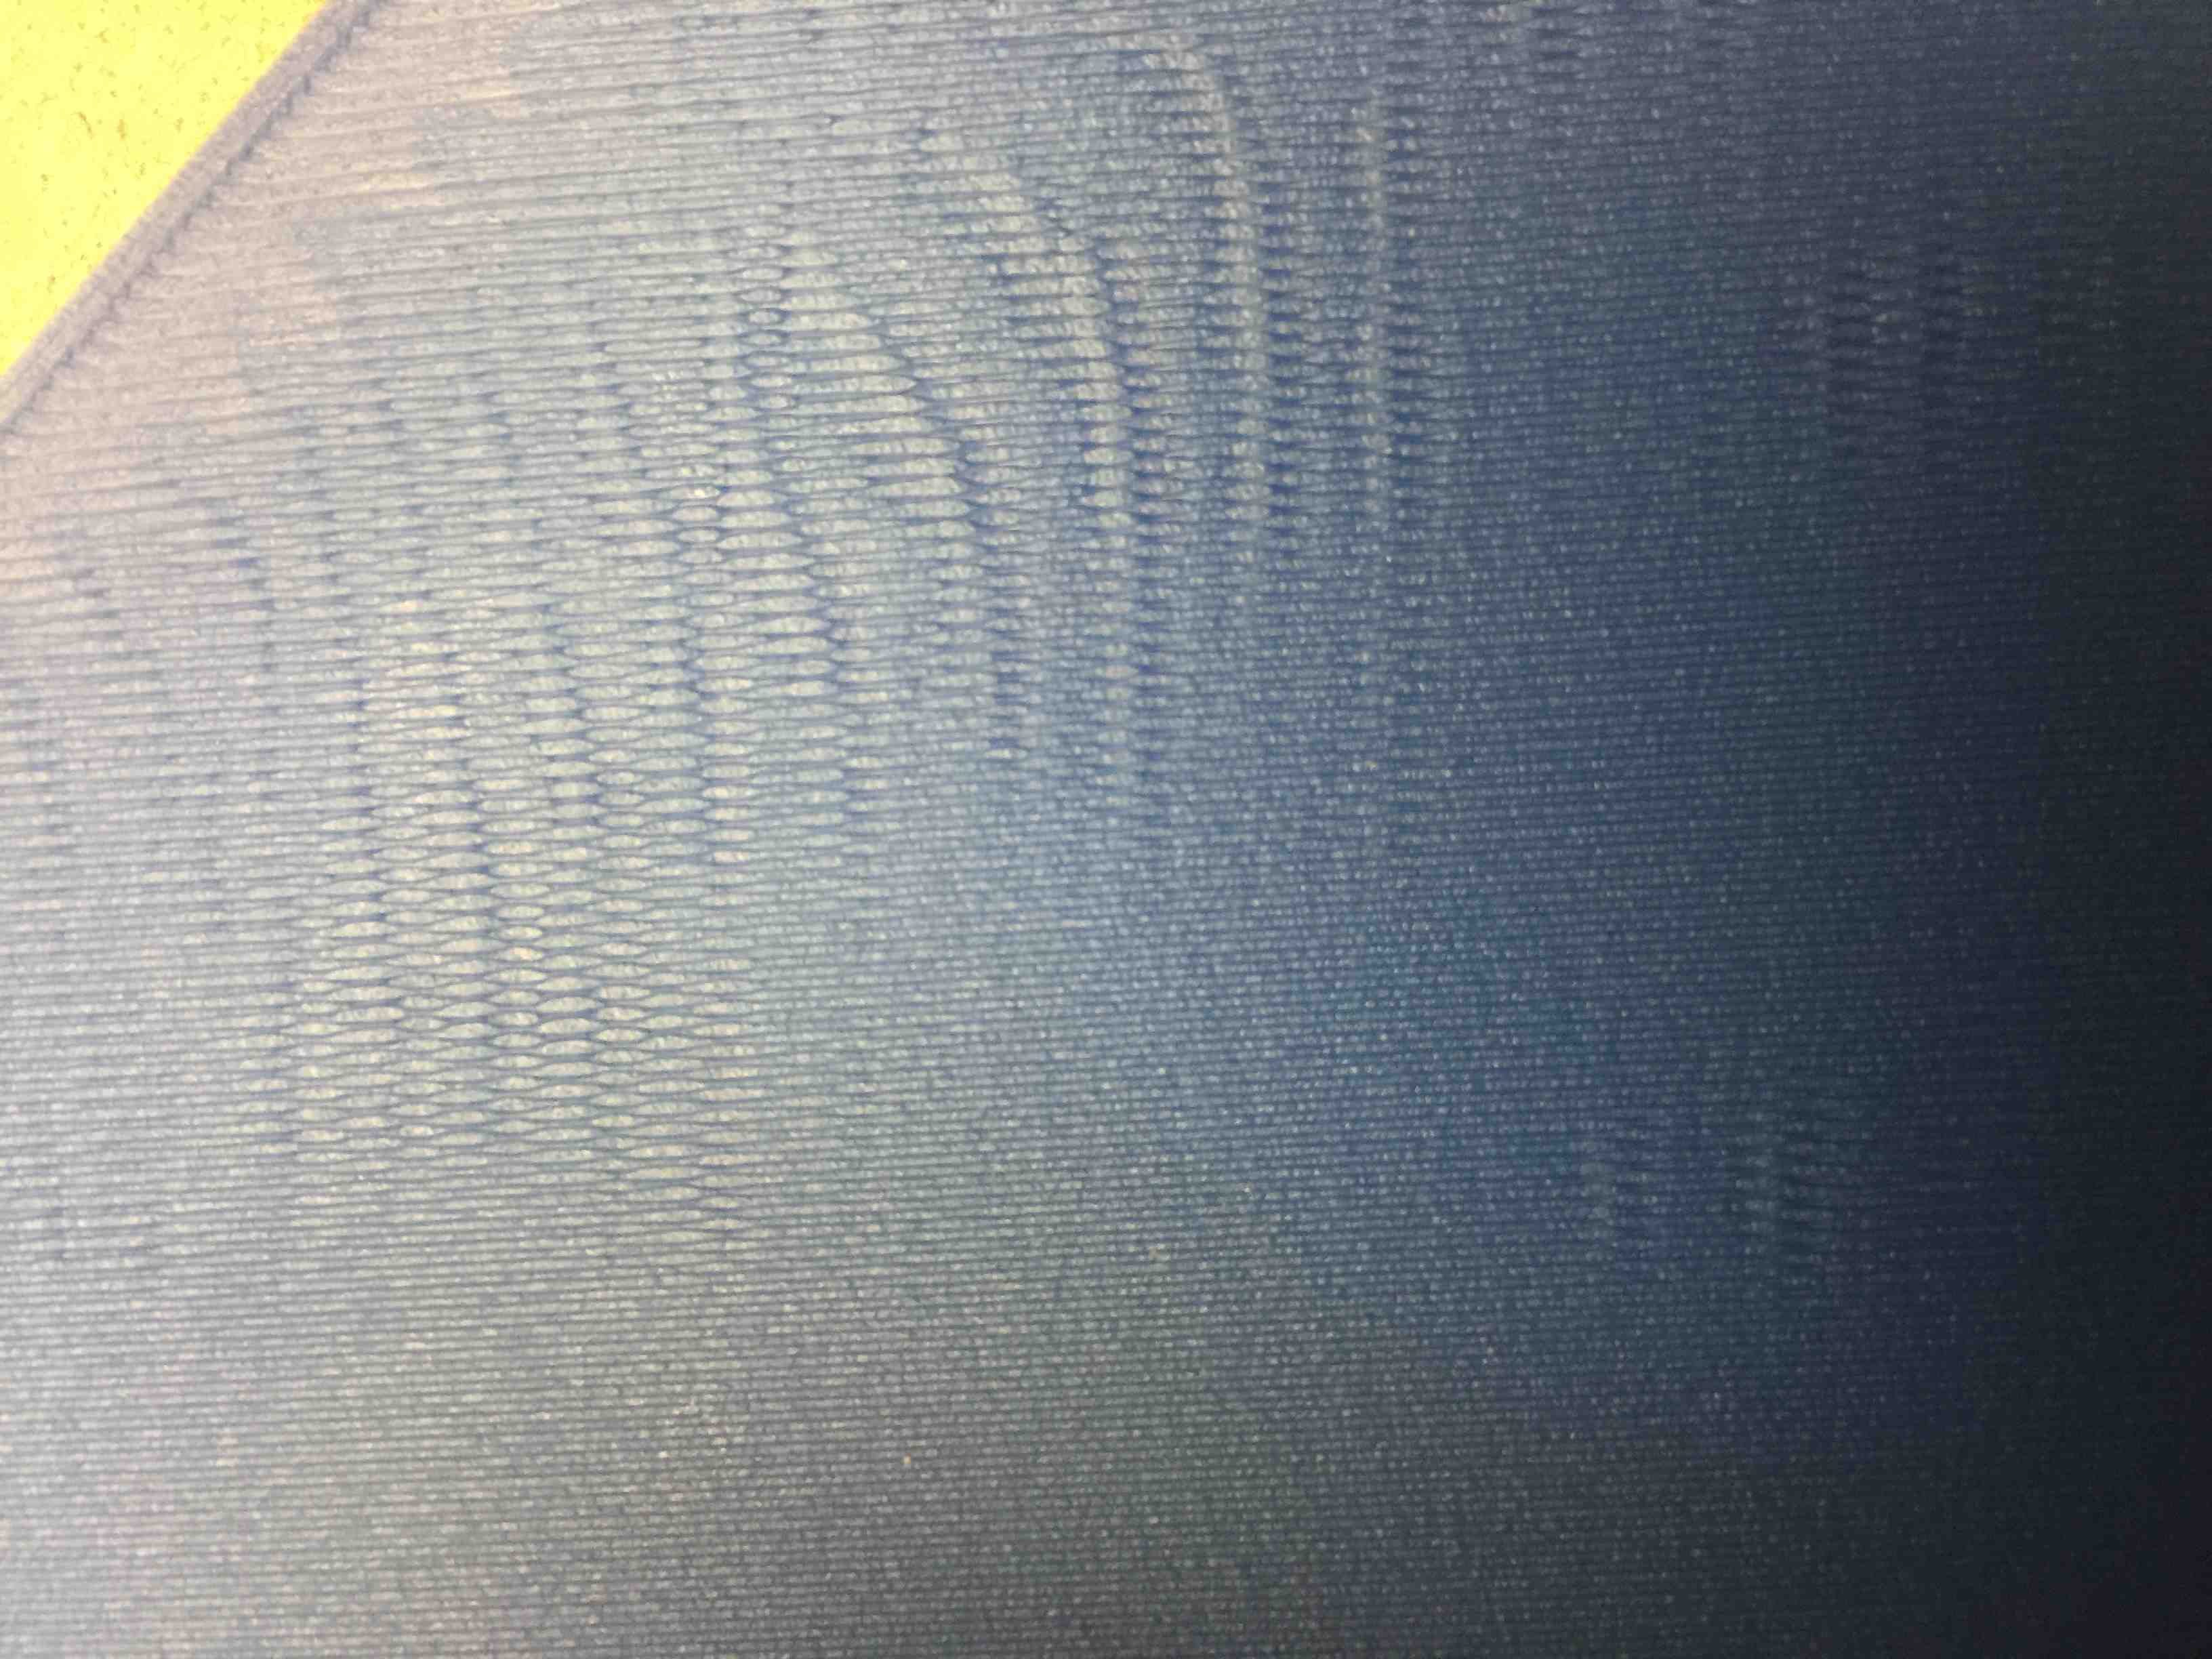
Here is a picture of the bottom of the piece. A careful examination shows an oscillation in the squished filament segments on a filament thread. Almost like the extruder was oscillating vertically in the z-axis at that frequency, or perhaps the filament squishyness was oscillating at that frequency. Looks almost like a weave pattern, since the squished parts alternate position on alternating lines.

It's worth saying again that the piece feels pretty smooth on both the top and bottom sides, even though it looks awful. I don't know what to make of that.

Ripples on the top side towards the middle of the plate

Kevin
  • 603
  • 1
  • 5
  • 12

4 Answers4

12

First layer rippling is usually caused by a too low of a first layer height (for the amount of extruded filament).

Are you sure that:

  1. Your bed is leveled as good as possible, and
  2. the initial height between the nozzle and the bed is correct when Z=0 (A4 paper thickness, when moved should be giving some drag), and
  3. the bed is flat. (This is most probably your actual problem!)

To minimize the effects, you could try to:

  • increase the first layer height, or
  • set an additional Z offset in the slicer, or
  • reduce the filament flow for the first layer, or
  • install an automatic bed leveling sensor, or
  • perform a manual bed levelling mesh procedure (if you have Marlin Firmware).

This usually helps fighting these ripples.

0scar
  • 37,708
  • 12
  • 68
  • 156
7

The main problem is solved (first layer thickness vs leveled nozzle height).

The following image shows the problem. I was running with a default 0.3 mm first layer (the tooltip setting says a slightly thicker layer helps with adhesion). The build plate was correctly leveled with "midrange" friction on the leveling card at the leveling points.

Problem cause: The midrange leveling height put the nozzle too close to the plate and caused rippling. The first layer thickness was set to 0.3 mm and the thickness of the leveling card was 0.25 mm.

The following image illustrates the problem (and one of the solutions). The bottom right of the image shows rippling. Not knowing what else to do with the "too close" or "too far" or "unlevel" tips in the comments, I just manually lowered the build plate knobs 1/4 turn while the print was in progress. The print began in the lower right. You can see the smooth area where I manually lowered the build plate. Then, to be sure, I raised the plate by restoring the 1/4 turn on the knobs. The rippling returned.

Ripples disappear when build plate is lowered 1/4 turn on the knobs

To further explore the 0-90 degree suggestion provided by profesor79, I changed the slicer degree settings to 0-90 degrees and set the first layer thickness to 0.2 mm, which was equivalent to lowering the build plate knobs by 1/4 turn. I kept the same "midrange" friction settings when leveling. The result was a first-layer print with no rippling.

No ripples with 0-90 degree settings and new build plate distance

Closing Thoughts

From this experience, I think:

  1. 0.05 mm difference between a thickness of 0.3 mm on the first layer and a leveling-card nozzle height of 0.25 mm makes a rippling difference.

  2. Using mid-range friction vs light friction on the leveling card also makes a difference. You don't need much of a height difference to reach 0.05 mm. Maybe even less is required to cause a ripple.

  3. When printing with a first layer thickness of 0.2 mm, tolerances were tight and I discovered a spot on my build plate that had no adhesion because of a buildup of old adhesive. It left a 1/2-inch hole in the 0.2 mm-thick first layer. I also noticed just a hint of ripple in another place on the build plate, which (I think) indicates a tiny magnetic build plate thickness or warp issue of some kind. Hardly noticeable.

  4. I think I will go forward with a 0.3 mm layer thickness to "absorb" minor flatness inconsistencies in my plate. (I have a glass plate but I have never used it because the magnetic plate is vastly more convenient.) But, to compensate for rippling effects, I will also use a "very light" friction amount when leveling the plate to ensure that the nozzle doesn't get too close to the plate on the first layer.

  5. I found that manually adjusting the build plate height during a solid first layer print was a wonderful way to detect, see, and explore all the relationships between plate leveling, plate flatness, first layer thickness, and friction adjustments on the nozzle. It's very easy to immediately see, understand, and adjust all the related settings to get the best print possible from the machine.


Thank you again to everyone who contributed ideas to understanding the problem. It's hard to pick any particular answer because the solution involved multiple ideas, so I have added my own answer to share.

Kevin
  • 603
  • 1
  • 5
  • 12
2
  1. The first that I have in mind was connected with an acceleration, so you could play with it (set to half the current value and see the results)

  2. The other source of that could be drive belt that is fiddling a little bit on the motor and idler shaft (visual check for any play on the motor/shaft)

  3. Next one could be connected with some obstructions in the filament path (as this is direct drive, the Bowden tube could add an extra load if it was bent or spool is blocked)

  4. As this is coreXY type printer could you set in slicer filing angles to 0deg and 90deg? That will force booth motors to run in the same time and eliminate a not holding torque on the other motor (or from other hand please check if the other motor gets some play when the head is going diagonally)

profesor79
  • 2,002
  • 1
  • 11
  • 24
0

I agree that it's too much material for the layer height, to fix this I hope you have a direct drive extruder because you can do this on the fly during the print just increase the tension on the filament or slightly lower your hotels temp .